

Start with the anchor
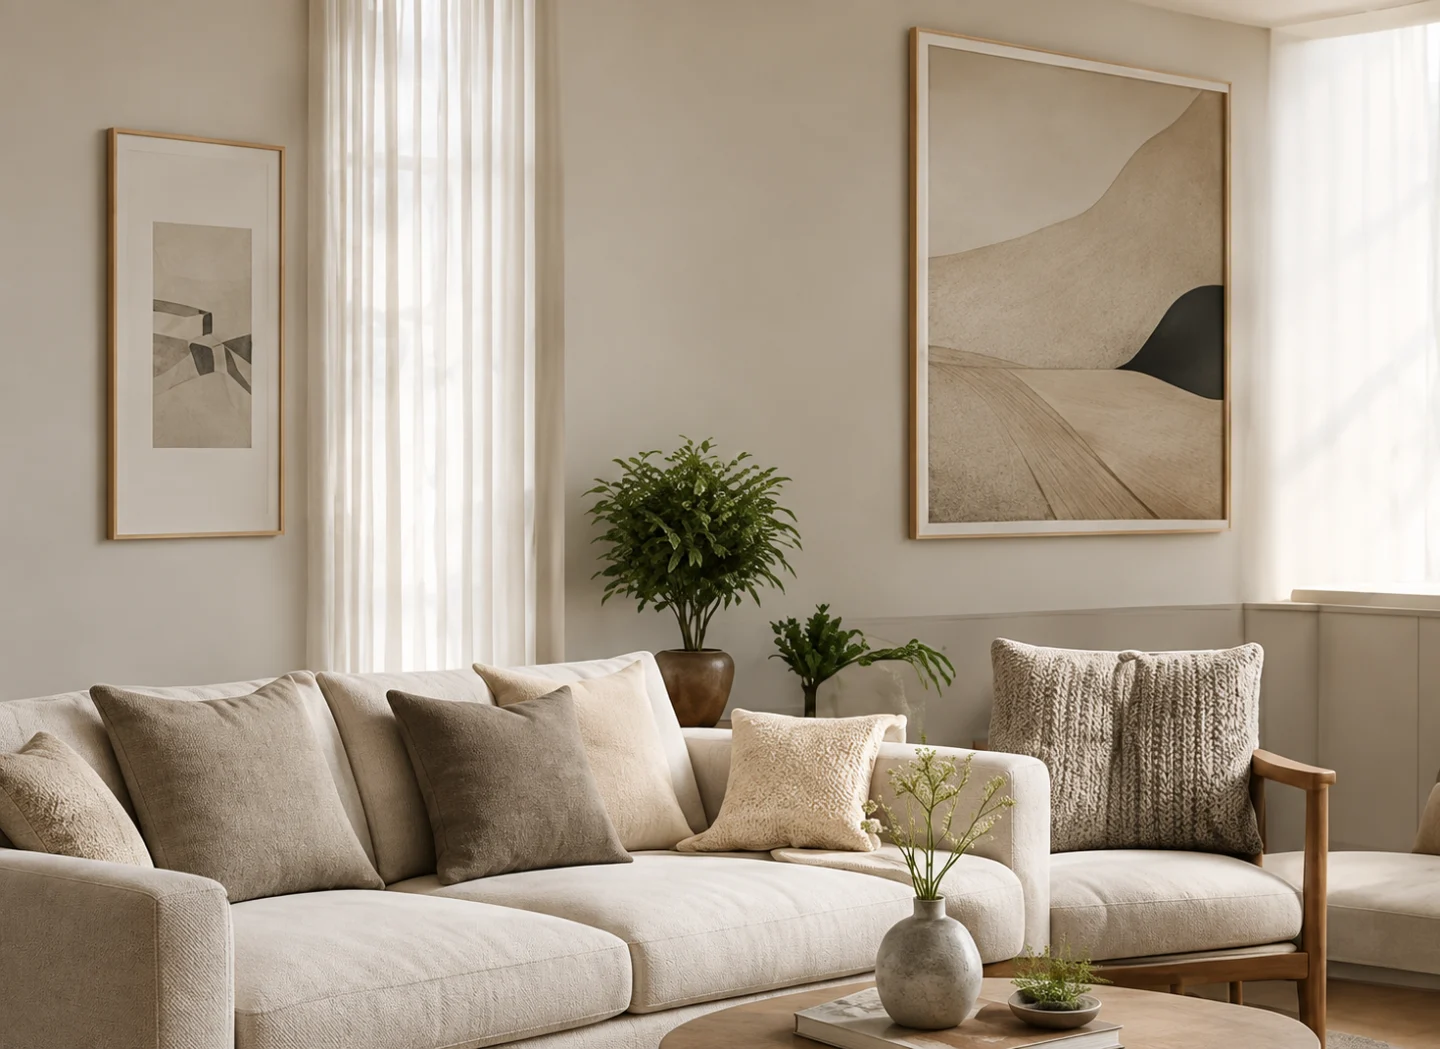
Anchor the gallery above a piece of furniture such as a sofa, console or bed, so it relates to the room rather than floating on the wall. As a rule of thumb, the group should be about two-thirds the width of the furniture below, and the bottom edge should sit roughly 15 to 25 cm above it. Treat the whole arrangement as one shape when judging balance.
Once the group reads as a single object, individual pieces can vary in size without the wall feeling messy.
Choose a layout structure
A grid uses equal sizes and consistent gaps, which feels calm and architectural. A salon layout mixes sizes around a central piece, which feels collected and traditional. A column works for narrow walls and hallways, and a shelf layout with frames leaning on a picture ledge is the most flexible of all.
- Grid: easiest to hang and easiest to get wrong if the gaps vary.
- Salon: forgiving of mixed sizes and frames you already own.
- Column: good for a narrow wall beside a door or at the end of a hallway.
- Shelf: low commitment, easy to rearrange, apartment friendly.
Spacing and alignment
Use one consistent gap, typically 5 to 8 cm between frames. Align tops or bottoms where the layout has horizontal rows, and hang the center of the group at around eye level rather than the top of the frames. Check the wall from both standing and seated positions, because a group that looks right standing can feel low or high from the sofa.
Frames, mats and consistency
One or two frame finishes is usually enough; more starts to feel noisy. Mats give prints breathing room and make mixed sizes look deliberate. Match mat widths for a calm grid and vary them slightly for a salon wall, and keep the visual weight of the frames similar if the sizes differ.
If you are framing several pieces at once, decide the finish for all of them before you order. Matching frames are much easier to add to later, which matters when you find a print you love in six months.
Preview with AI
Photograph the wall straight on and preview a suggested arrangement before buying frames. Try two structures, such as grid versus salon, and compare. Use the render to judge scale relative to the furniture, not to pick artwork, and then lay the frames out on the floor to confirm the real spacing.
The floor layout is the step most people skip, and it is the one that catches a group that is too wide or too tall before the holes are drilled.
Renting and low-damage options
Picture ledges and freestanding frames need minimal fixing, and adhesive strips work for lightweight frames if the wall and the weight allow. Check the load rating and the wall finish, and plan the removal: patching and a paint touch-up should be part of the plan, not a surprise at move-out.
When in doubt, ask for permission in writing and keep the reply. A landlord who is asked politely usually says yes to a few well-placed holes; one who discovers them at inspection rarely does.
Hanging without a hundred holes
Make paper templates for each frame and tape them to the wall first. Mark the fixing points from the templates and check with a level, then use the right fixing for the wall type and the weight. Keep a note of what you hung where, so future changes are adjustments rather than experiments.
Lighting a gallery wall
Light changes a flat arrangement into a considered one, so plan it with the layout. Picture lights and wall washers are the two common approaches: a picture light grazes the surface and emphasizes texture, while a wall washer spreads an even pool of light that suits a mixed group of frames. Low-voltage picture lights on a single switch are the simplest retrofits.
Keep the light source far enough above the frames to avoid a hot spot, and avoid a fitting that sits in the viewer's eyeline from the sofa. If you are choosing paint colors at the same time, test the arrangement with the lights on and off, because a matte wall and a glossy frame behave very differently under directional light.
Frequently asked questions
How high should a gallery wall hang?
Centre the group at around eye level for most rooms, and keep the bottom edge roughly 15-25 cm above the furniture it sits over. In hallways and above stairs, follow the sightline instead.
Can gallery wall frames be different sizes?
Yes, mixed sizes work well as long as the gaps are consistent and the group is balanced around a larger focal piece. A grid of equal frames is easier to hang but a salon layout is more flexible with what you already own.
Is it safe to hang frames with adhesive strips in a rental?
Lightweight frames can work with quality adhesive strips, but check the weight rating and the wall finish. Heavier or valuable pieces need proper fixings and, in a rental, permission.
A gallery wall is a layout problem before it is an art problem. Anchor it, space it consistently and preview the arrangement; the pieces can change later.
This article is general design guidance. Check the wall type and load ratings before fixing anything to a wall.